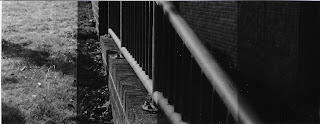
During the second week we used an SLR camera and shot some film in partners. We went around the college and took photos to somehow show order and chaos. Once we had taken all our shots we then had to go into a pitch black room to take out the film and prepare it to be developed. To develop the film we had to follow the steps below.
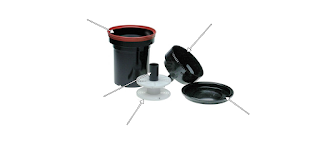
IN TOTAL DARKNESS: Open the cassette, remove the film spool and trim the end of the film so that it can go into the spiral. After this step you need to load the film onto the spiral (making sure that all the film has been placed in the spiral by twisting it). Then fit the tube in the centre of the spiral and place in the tank body. Fit the funnel top onto the tank and making sure that it is screwed on straight (there should be a slight 'click' if the lid is on straight).
PREPARING CHEMISTRY: Using water at 20C add one part water to one part of X-Tol Developer: If you are only developing one 35mm film it needs a total of 300ml mixed solution-
150ml X-Tol + 150ml Water = 300ml
If you are developing two 35mm films, or one 120mm films needs a today of 600ml mixed solutions-
300ml X-Tol + 300ml Water = 600ml
DEVELOPING: Pour the mixed developer into the tank and fit the sealing lid. Immediately start the timer as soon as the developer is in the tank, for 100/125 ISO film - 9 minutes and for 400 ISO film - 11 minutes. Give the tank a tap on the bench to dislodge any bubbles on the film. During the film 30 seconds invert the tank fully continuously then every 30 seconds during development avert the tank twice. Will you are waiting prep the same amount (300ml or 600ml) of Stop and Fix ready in separate measuring cylinders. Then 15 seconds before the developing time is up, pour the developer into a waste tank.
STOP: Fill the tank with the stop bath, invert twice and pour the stop back into the same bottle.
FIX: Fill tank the fixer, invert continuously for 30 seconds, Fix for 4 minutes, inverting every 30 seconds, then pour the fix back to the original bottle.
WASH: Fill the tank with water at 20C, invert 5 times, then empty completely. Refill the tank for a second time, but this time invert 10 times and empty completely. Refill the tank for the last time but invert 20 times then empty completely.
RINSE & DRY: Remove lids from the tank, take the spiral out and remove centre tube from it. Immerse the spiral in a Wetting Agent bath for a few seconds and shake a little. Carefully remove the film from the spiral and at this point it is very delicate. So being very careful, wipe the film once to remove any extra liquid, then add some clips to hang in the drying cabinet for approximately 10-15 minutes or until dry.
SLEEVING: Once the film is dry and the clips have been removed, cut the film into strips of six frames and place it in a sleeve.
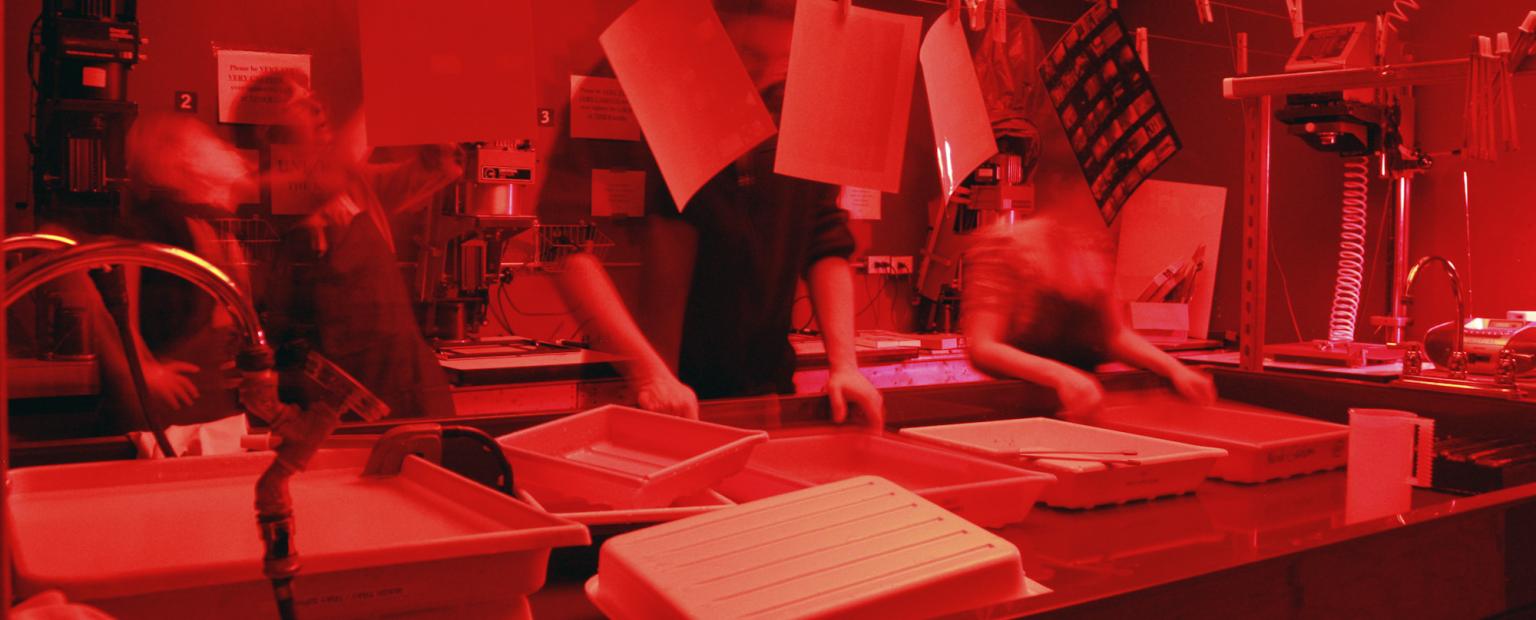
 TESTING EXPOSURE TIMES


150ml X-Tol + 150ml Water = 300ml
If you are developing two 35mm films, or one 120mm films needs a today of 600ml mixed solutions-
300ml X-Tol + 300ml Water = 600ml
DEVELOPING: Pour the mixed developer into the tank and fit the sealing lid. Immediately start the timer as soon as the developer is in the tank, for 100/125 ISO film - 9 minutes and for 400 ISO film - 11 minutes. Give the tank a tap on the bench to dislodge any bubbles on the film. During the film 30 seconds invert the tank fully continuously then every 30 seconds during development avert the tank twice. Will you are waiting prep the same amount (300ml or 600ml) of Stop and Fix ready in separate measuring cylinders. Then 15 seconds before the developing time is up, pour the developer into a waste tank.
STOP: Fill the tank with the stop bath, invert twice and pour the stop back into the same bottle.
FIX: Fill tank the fixer, invert continuously for 30 seconds, Fix for 4 minutes, inverting every 30 seconds, then pour the fix back to the original bottle.
WASH: Fill the tank with water at 20C, invert 5 times, then empty completely. Refill the tank for a second time, but this time invert 10 times and empty completely. Refill the tank for the last time but invert 20 times then empty completely.
RINSE & DRY: Remove lids from the tank, take the spiral out and remove centre tube from it. Immerse the spiral in a Wetting Agent bath for a few seconds and shake a little. Carefully remove the film from the spiral and at this point it is very delicate. So being very careful, wipe the film once to remove any extra liquid, then add some clips to hang in the drying cabinet for approximately 10-15 minutes or until dry.
SLEEVING: Once the film is dry and the clips have been removed, cut the film into strips of six frames and place it in a sleeve.


TESTING EXPOSURE TIMES


